We’re still parked on my parent’s property here outside Fort Worth. Joey is still on total temporary disability. Kids are still avid gamers.
Not much has changed. Except a few organizational things inside the bus.
Meet the Computer Room. Joey built a shelf for the printer last year, and last week we converted the dresser that came with the bus into a computer desk. We took out the drawers, added a shelf to set the CPU on and then cut out a hole for the face of it to stick out for easy access.
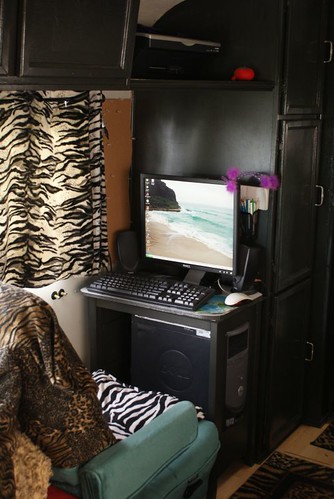
It’ll be complete once I replace the old RV chair for a computer chair.
What bus doesn’t have a Video Game Lounge?
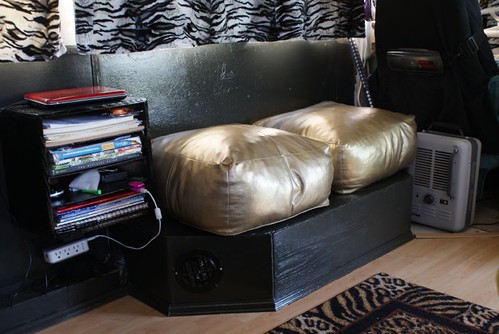
This is the wheel well directly behind the driver’s seat. When we got it there was a cupboard built on top of it, then about a year later we cut it out and added another RV couch. The two couches just took up too much room so we got rid of it, and then realized how nice it was to have all this extra space. Then one day at Target I found these gaudy college dorm room cushions on clearance and I knew I just had to have them! They work out great either to sit on as is, or for the kids to throw on the floor to sit on while playing video games on the TV. The shelf cubby my Dad built for me while we were staying in their house to clear off the clutter on our dresser, and I wanted to use it in the bus but couldn’t find a place for it. When Joey suggested hanging it on the wall I thought he’d lost it, but it’s actually perfectly practical. It holds my mini laptop, all of Jewel’s papers to draw on, their strategy guides for video games, and magazines. I also turned one shelf into their DS, Gameboy and MP3 players charging station. It has helped to contain all these things that were usually everywhere but someplace neat. Directly across form here is the couch.
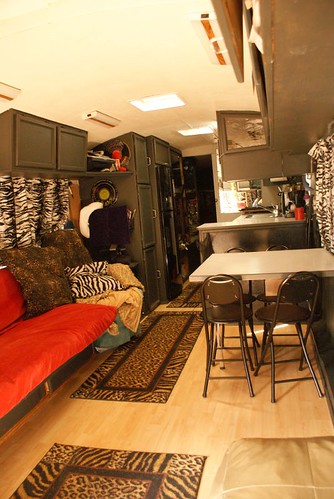
The Dining Room: 
We removed the standard RV table skinny leg that was always getting kicked under and sideways, with this shelf unit that we bought to sit on the “dog house” (engine cover on bus pullers) to hold the kids’ video game equipment. Here I flipped it over, painted it black and it still houses all the controllers and accessories for the Wii, PS2 and Xbox consoles. The top shelf holds more strategy guides. On the left there is a chalkboard hanging on the wall which is the start of the kitchen cabinets, and these little chairs are a perfect fit for the small space. They even fold up easily if need be. Directly across from the table is the Computer Room.
Next room as you walk to the back of the bus is The Kitchen.
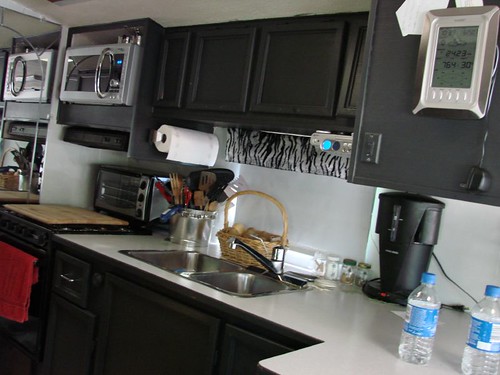
As far as RV’s go, this is a large kitchen..and I LURVE it! I have my talking microwave. We know the second we’ve plugged into electricity because she says “Hi! I’m Temo, and I’m ready to cook.” Below that is my convection/toaster oven, and below that is the standard RV oven/stove combo. Directly across is the refrigerator and large pantry slide out drawers.
Keep going back and it’s the former closet, turned bunk beds.
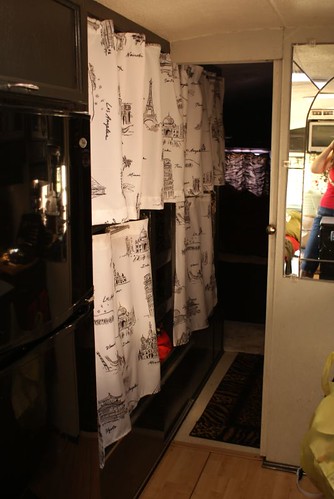
That’s the shiny new black fridge directly on the left. When our RV fridge died last year we didn’t want to spend $1500 to replace it so we went to Lowe’s and got a normal 10 cu. ft. fridge. It’s not great for boondocking, but we’re looking into getting solar just for it. This door slides closed and is the only door that separates the back of the bus from the front. To the left are the bunks, and the right is the bathroom. These curtains were previously my Mom’s guest bath shower curtains, which rarely got used before she replaced them with a glass wall. They are complete with a travel theme! I found old rebar in the scrap pile, sprayed it silver and they became the curtain rods. The mirror was also recycled, from my parent’s old 1980’s waterbed headboard.
Jake moved his bed to the pullout couch and we gave Jewel the top bunk.
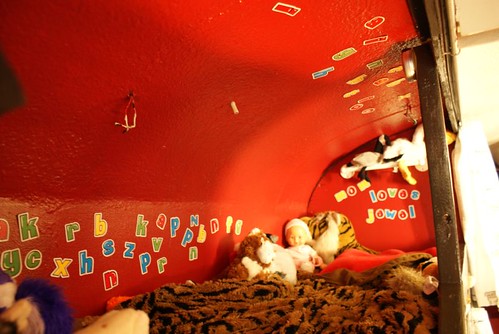
I first painted it with FIVE layers of magnetic paint to ensure a good coating, then in order to cover up all that blackness I had to do FIVE coats of red paint. She absolutely loves her new space, being she’s waited three years for it, but we’re not too sure if it might be a little dangerous. Her second night sleeping in it she woke up sick and throwing up, and then moved back in bed with us. She has slept in it a few more times with no problems, so we’re just kinda testing it out and seeing what happens.
Directly across from the bunks is The Bathroom.
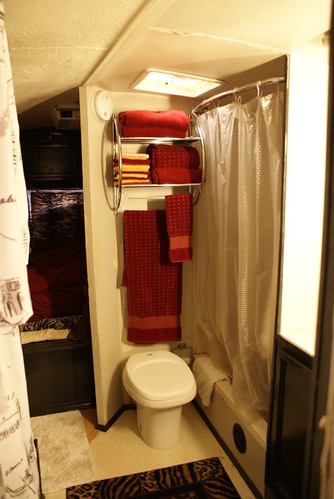
Vanity is far right with huge mirrored medicine cabinet and underneath storage. Then there’s the tiny tub/shower with new rod we installed. We also installed the towel shelf unit. And that’s our bedroom nook behind that entryway. Behind the bunks and before climbing into our bed is where the previous owners had the small dresser we converted into the desk, and now we have wall to wall shelves for our clothes.
This is our Love Den, with our own escape hatch. Which we installed mosquito netting around so we can leave the door open and listen to the river gurgling behind us. (when we had that river gurgling behind us)

So there it is, Home Sweet Bus.